Looking to add a touch of winter magic to your home or holiday gifts? Crafting your own DIY snow globe is a fun, creative project that anyone can enjoy. Snow globes are timeless keepsakes that capture the charm of winter in a swirl of glitter and snow. Plus, it’s a fun project for the kids to enjoy! Here’s a step-by-step guide to making your very own magical snow globe at home.
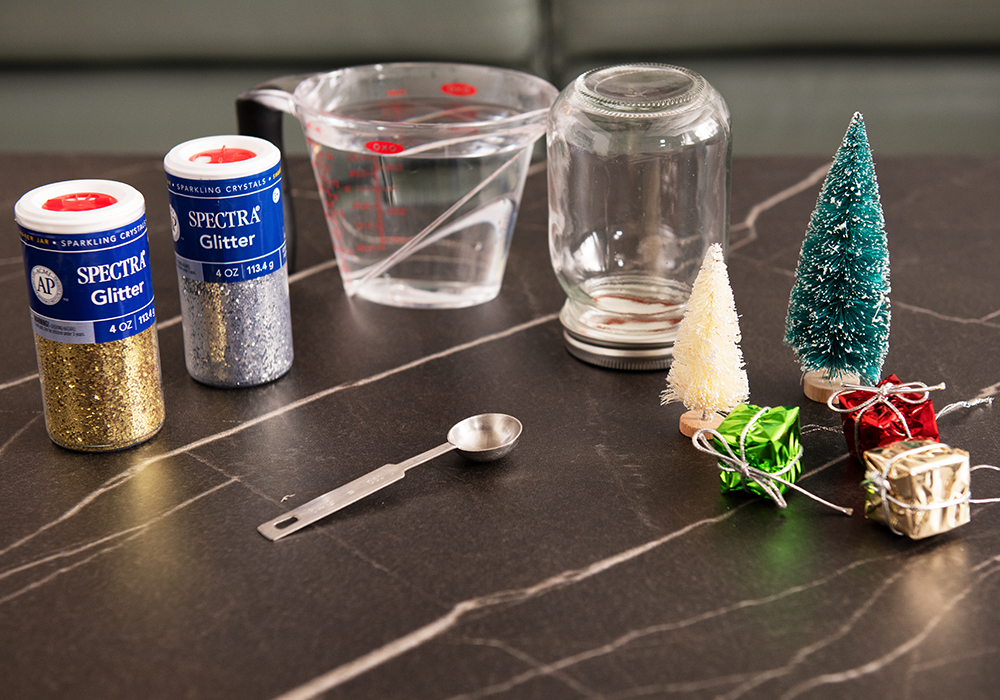
What You’ll Need

Gather these materials to get started:
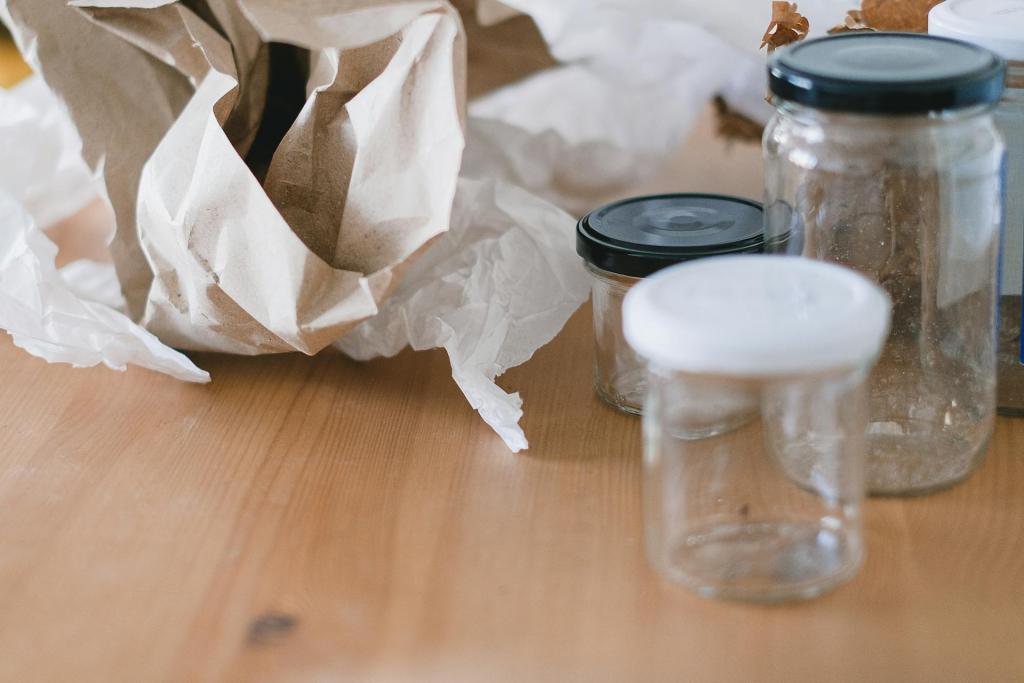
- A pedestal bowl or clean jar with a tight-sealing lid (mason jars work great)
- Distilled water or boiled water (cooled to room temperature)
- Glycerin (optional, for slower-moving “snow”)
- Glitter or faux snow
- Miniature figurines or decorations (plastic or waterproof materials work best)
- Epoxy glue, waterproof adhesive, or hot glue
- Spray paint or ribbon (optional for decorating the lid)
Step-by-Step Instructions for Making a DIY Snow Globe
Once you have all the materials, you’re ready to start. Corral the children and begin with the instructions below:
Choose Your Jar and Figurines

Select a jar size that works for your design; test your miniature figurines to ensure they fit comfortably inside the jar when sealed. Holiday-themed items like Christmas trees, snowmen, or tiny houses are popular choices.
Decorate the Lid

If you’d like to personalize your lid, spray paint it in a festive color and let it dry completely. Attach your figurines to the inside of the lid using epoxy glue. Allow the glue to cure fully for a strong hold. Alternatively, you can add a piece of foam to the lid to give your figurines a boost.
Prepare the Water Solution

Fill your jar almost to the brim with distilled water. Add a few drops of glycerin to create a slow-moving effect for the glitter. Glycerin is optional but adds a professional touch.
Add Glitter or Faux Snow

Sprinkle glitter or faux snow into the jar. You can mix colors or types of glitter to achieve your desired effect.
Assemble Your Snow Globe

Carefully screw the lid (with attached figurines) onto the jar. Tighten it securely to avoid leaks. Shake gently to test how the glitter moves.
Seal the Lid (Optional)

For added durability, apply a layer of waterproof adhesive or hot glue around the lid’s edge to ensure a tight seal.
Add Final Touches

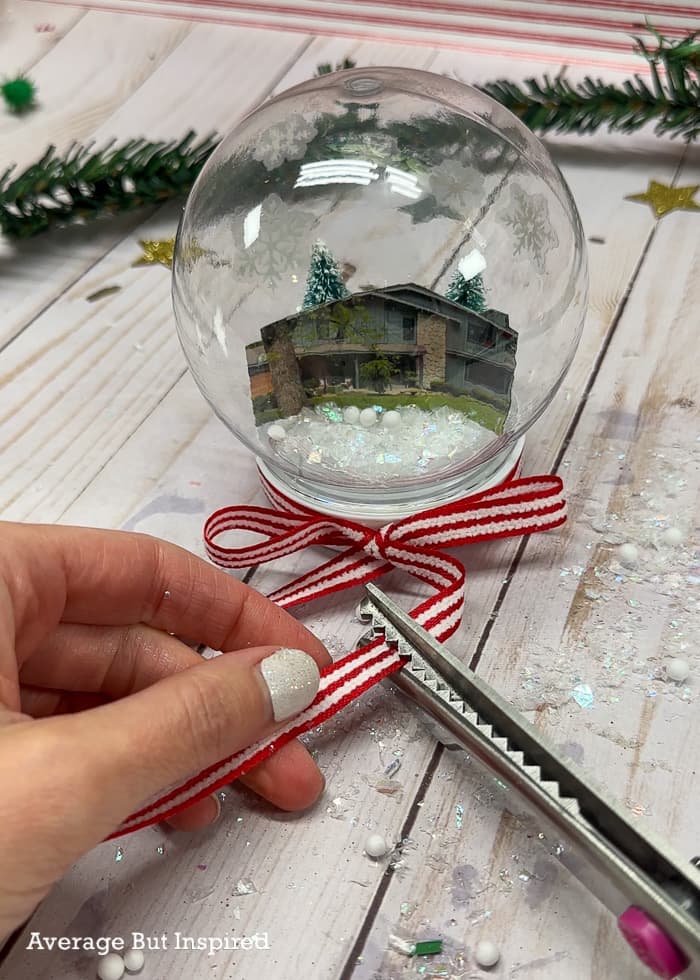
Decorate the exterior with ribbons, labels, or embellishments to make your snow globe even more festive. This is an especially thoughtful touch if you’re gifting the snow globe.
Your DIY snow globe is not just a decoration—it’s a celebration of the season’s charm and a testament to your creativity. With your handmade snow globe, you’ve brought a slice of winter’s beauty indoors, preserving its magic in a timeless and personal way. Whether it’s a gift or a new addition to your décor, your snow globe will undoubtedly brighten the season and spark joy with every shake.

